Air Hockey strategy: defend the middle, attack the angles
How to win more Air Hockey points: defend from the middle, recover after every shot, and change the angle before you add power.
Strong Air Hockey depends on getting back to a useful position after each contact. Protect the middle, take the simple lane first, and use the rails when the defender forces you to.
Defend from the middle
When the puck is on the other half, sit near the middle of your goal instead of camping by one rail. From the centre you have the shortest path to either side when the return comes.
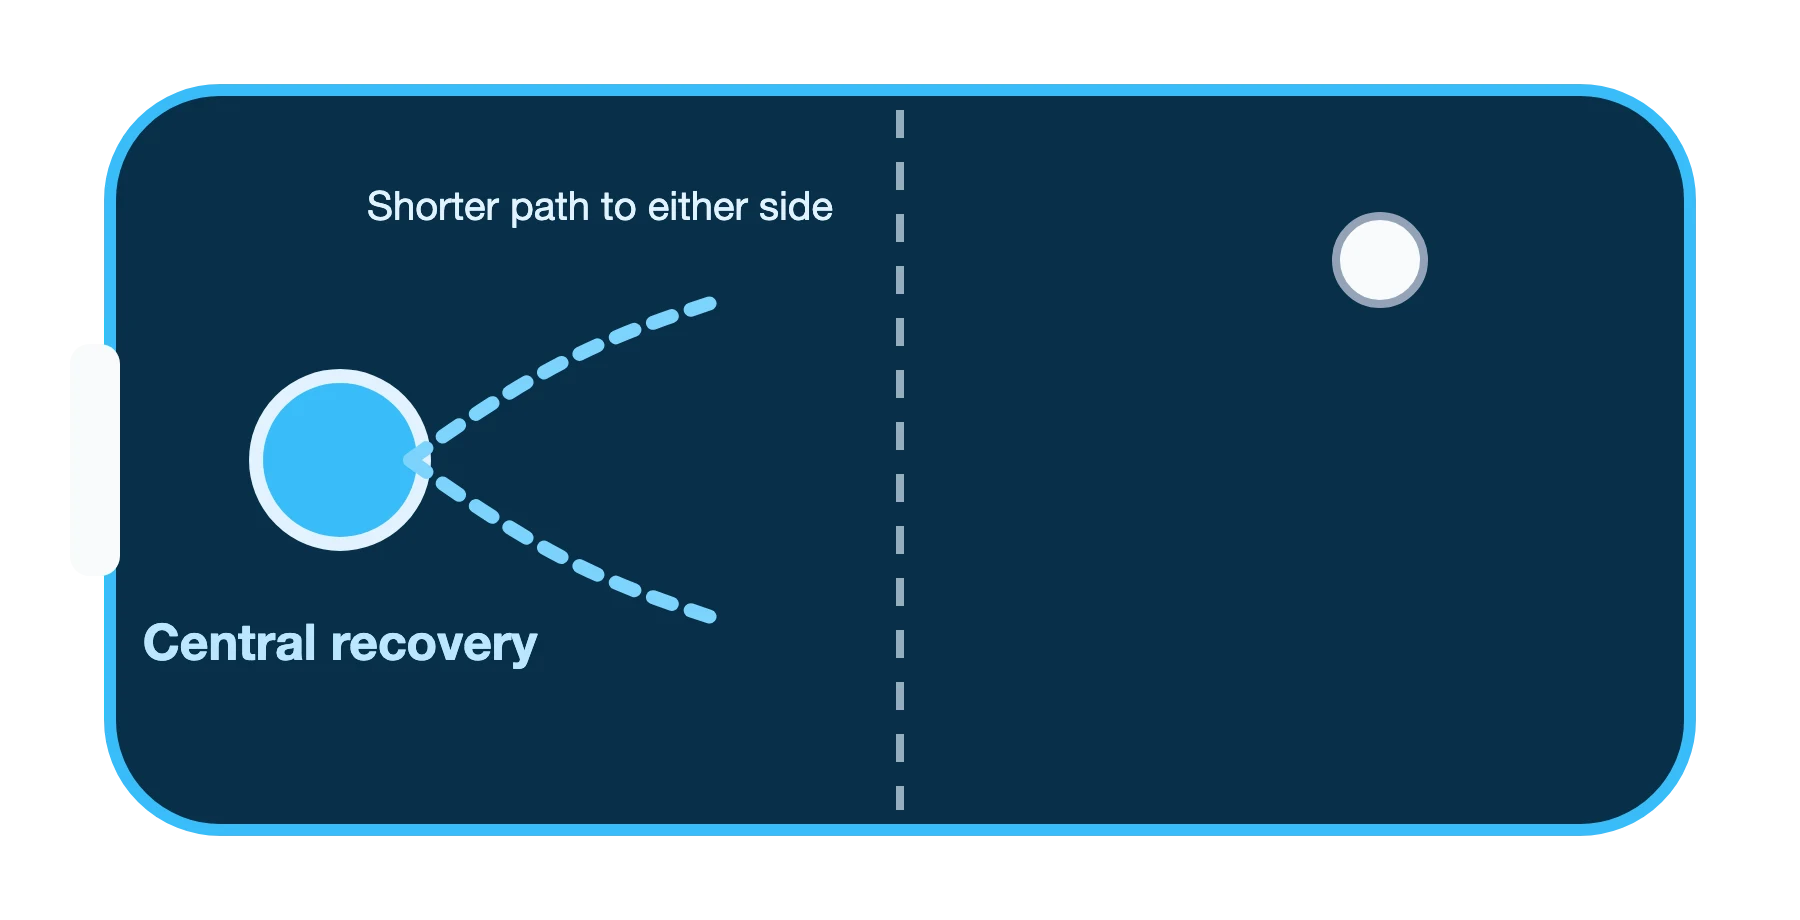
Defend, strike, recover
Treat every shot as one complete sequence. The attack isn't over until your mallet is back somewhere that can handle the counter-shot.
- Defend Put the mallet between the puck and the goal. When a rally gets messy, protect the centre first and let the perfect attacking line wait.
- Strike Take the direct lane before inventing a harder one. A straight shot is fastest when it is open.
- Recover Move back as soon as the puck leaves your mallet. A fast block can come straight back.
Make the defender move first
Repeating the same shot makes you easy to read. Change the line of attack before adding power, because speed matters most once the defender is moving the wrong way.
- If the goal is open, take the shortest route rather than forcing a bank shot.
- A small side-to-side shift can make a centred defender reset before you shoot.
- Use a side rail when the defender is already covering the direct line. See bank shots.
Stay disciplined on defence
- Don't chase harmless rebounds. If the puck is drifting safely towards a side wall, staying central is often stronger.
- When a fast rally turns untidy, get between the puck and the middle of your goal.
- A slightly weaker shot with a clean recovery is often safer than full power and an empty goal.
Habits that give away easy goals
Most cheap goals come from a mallet that is out of position. Recover after every attack, use the rail only when it moves the defender, and defend first whenever you lose the angle you wanted.
Should I follow the puck after every shot?
No. Following every puck into the rail drags your mallet away from the goal. Recover unless the next contact is clearly yours and clearly safe.
Is maximum power always better?
No. A hard shot that leaves your goal open can be worse than a controlled attack followed by a quick recovery.
Should I use bank shots whenever I can?
No. Use a bank when it changes the puck's final approach enough to move the defender. If the direct lane is open, the simple shot is usually better.
What should I do when I lose the angle I wanted?
Defend first. Put the mallet between the puck and your goal, settle the rally, then attack again.
Practise the loop until it is automatic.
Play a friend in a private two-player room with optional video chat, or practise solo against the AI. No download, no sign-up.
Keep reading
Spotted a mistake or have a question? Send feedback