Air Hockey bank shots: use the rail to change the angle
When a bank shot beats the straight shot, how to plan the rebound from the goal backwards, and how to recover once the puck is gone.
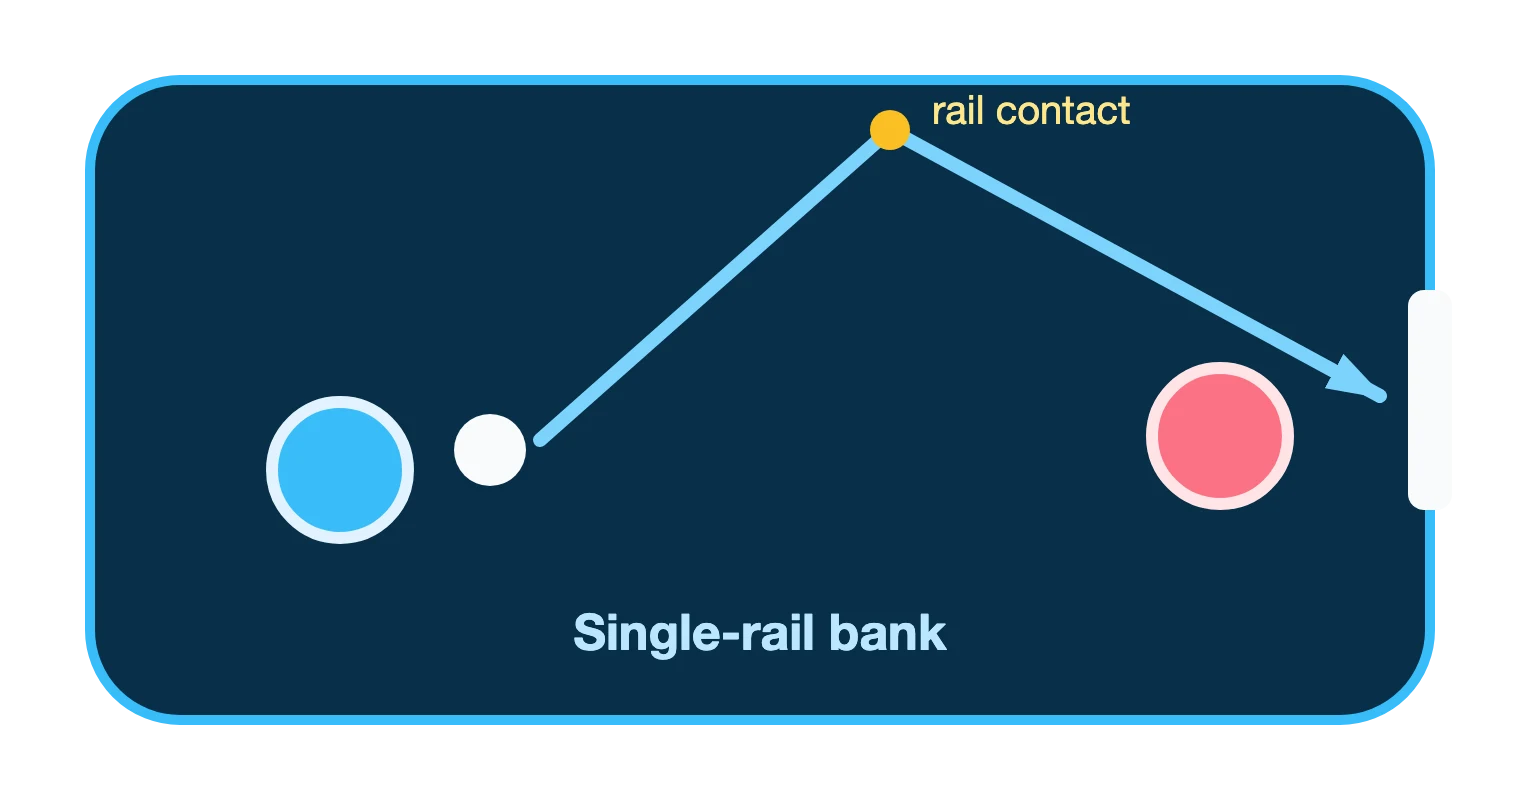
A bank shot sends the puck off a side rail before it reaches the goal. The rebound changes the puck's final approach and can force a centred defender to move late.
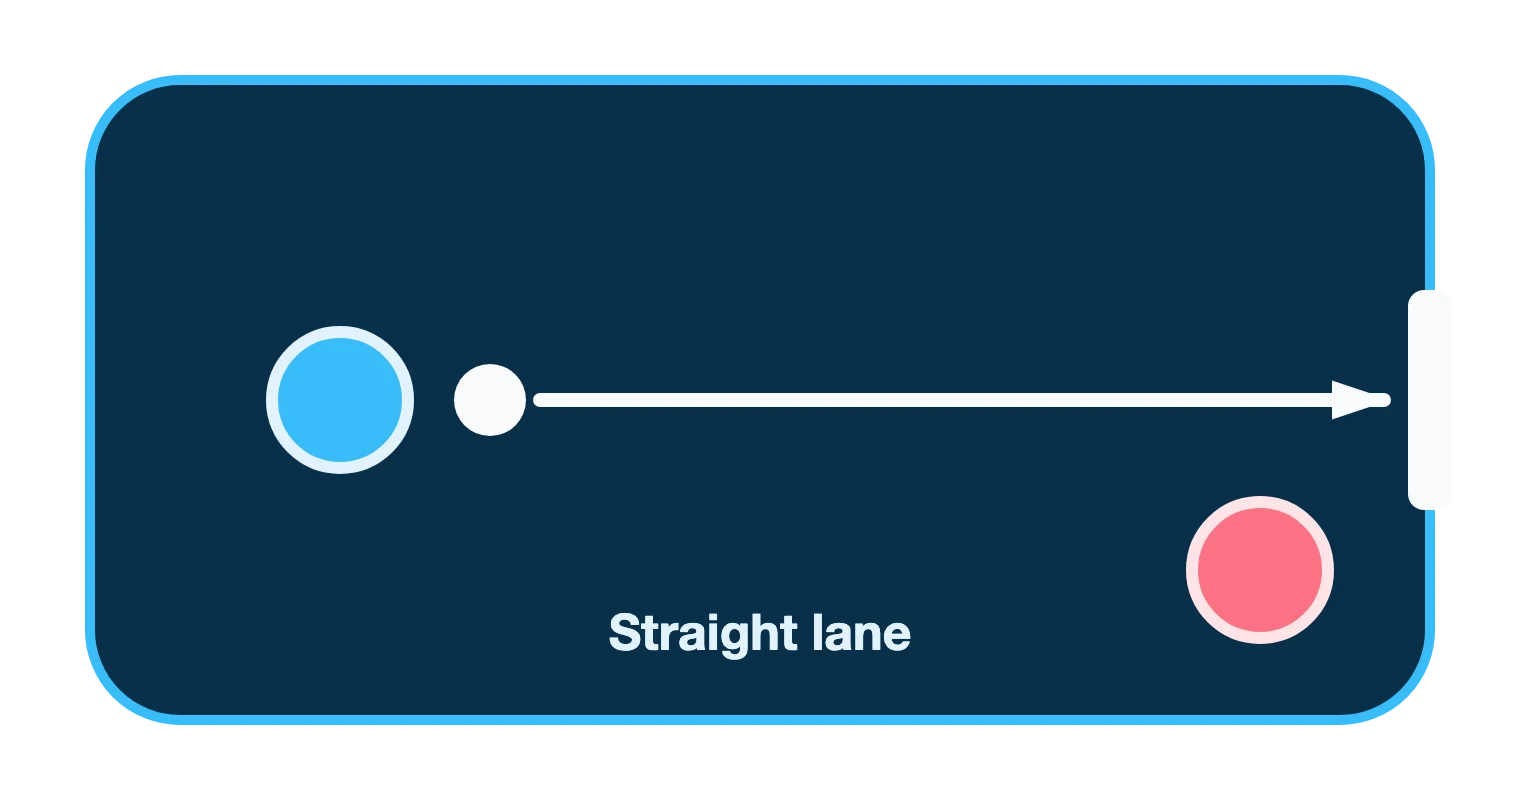
Shoot straight when the lane is open
A bank shot is useful when the defender has already committed to the direct lane, because the rebound changes the puck's approach. When that lane is open, the straight shot is faster and simpler.
Bank when the direct line is covered
When the defender covers the direct line, a rebound off one rail brings the puck in from a different angle.
Plan the bank backwards from the goal
Don't aim at the wall first and hope. Decide where you want the puck to arrive, then choose the rail contact that creates that path.
- Read Find the side the defender is giving away, the one that would force the longest late movement.
- Aim Choose a rail contact far enough up the table that the rebound has room to turn back towards goal.
- Strike Hit the puck cleanly. A clean strike gives a more predictable rebound than a glancing touch.
- Recover Head back to the middle as soon as the puck leaves your mallet. A bank can be blocked too.
When a bank solves a problem
| Situation | Why bank |
|---|---|
| The centre is blocked | The rebound creates a different way into the goal |
| The defender is leaning | Bank towards the side that forces the longest recovery |
| The puck is near a rail | Using the nearby wall can be cleaner than dragging back to centre |
| Your pattern is obvious | Mixing direct and bank attacks makes the next line harder to predict |
The most common bank-shot mistake
The biggest mistake is choosing the bank when the direct lane is open. The shorter path is usually better, and a bank is worth playing only when it creates an angle the defender isn't already covering.
Read the rebound
The puck reaches the rail at different speeds and angles, so the rebound won't follow the same line every time. Learn how the table responds, because one memorised spot on the wall won't work for every shot. Practise straight shots, then alternate top-rail and bottom-rail banks, and recover to the middle after every attempt. The strategy guide covers the positioning and recovery that go with these shots.
Try both rails in a solo match.
Play a friend in a private two-player room with optional video chat, or practise solo against the AI. No download, no sign-up.
Keep reading
Spotted a mistake or have a question? Send feedback